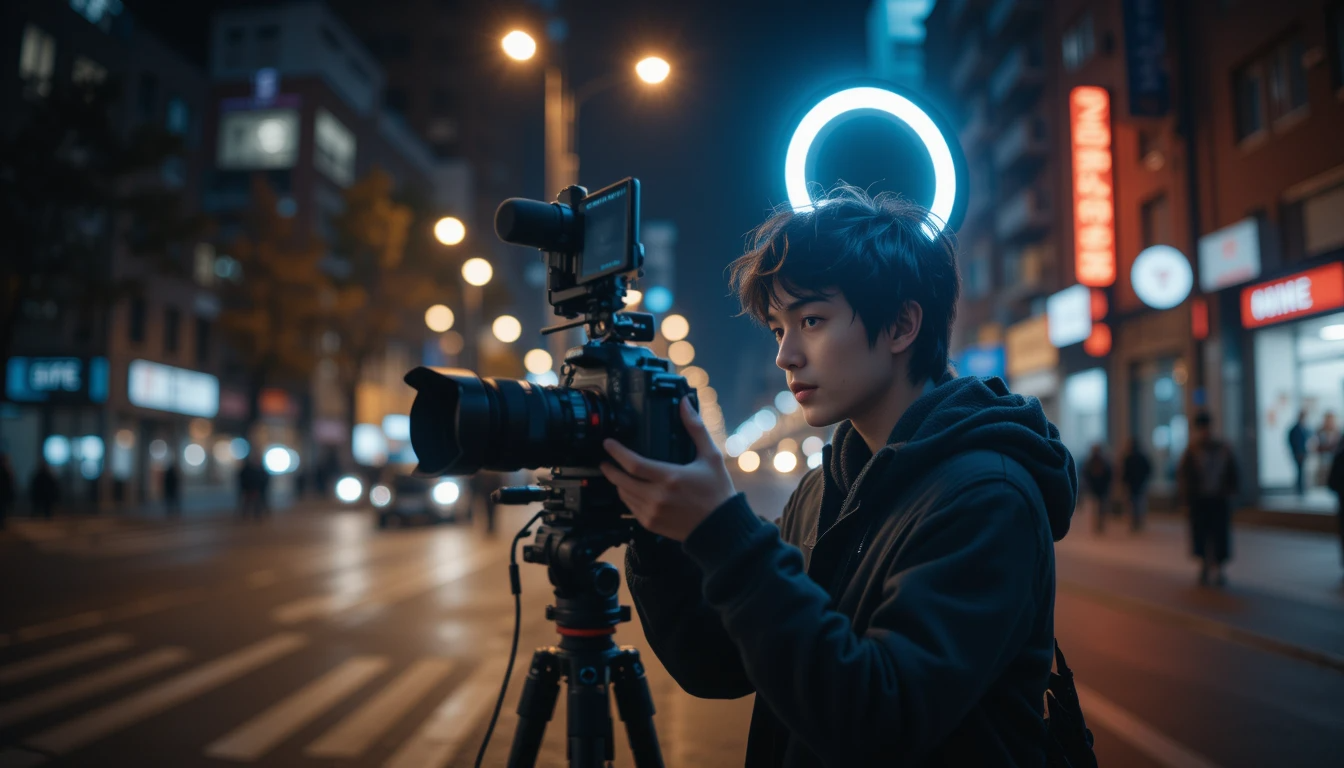
Introduction
Low-light vlogging can be a challenge, especially if you’re dealing with grainy footage, dark shadows, or poor color accuracy. The good news? You don’t need an expensive camera to improve your videos—just the right settings and techniques.
Whether you’re filming at night, indoors, or in dimly lit environments, this guide will help you optimize your camera settings for clear, high-quality low-light vlogs.
1. Choosing the Right Camera for Low-Light Vlogging

Before diving into settings, let’s talk about camera choice. Some cameras handle low light better than others.
✅ Best Camera Features for Low-Light Vlogging:
✔ Large Sensor Size – Full-frame or APS-C sensors perform better than smaller sensors.
✔ Wide Aperture Lenses (f/1.8 – f/2.8) – Allows more light into the camera.
✔ Good Low-Light Performance (High ISO Handling) – Less noise at higher ISO levels.
✔ Optical or Digital Image Stabilization (OIS, IBIS) – Helps reduce shakiness in dark environments.
📌 Recommended Low-Light Vlogging Cameras:
- Sony ZV-1 (Compact, great low-light performance, f/1.8 lens)
- Canon EOS M50 Mark II (Affordable mirrorless, great in low light)
- Sony A6400 (APS-C sensor, excellent high ISO performance)
- Panasonic Lumix GH5 (Great stabilization, solid in low light)
2. Best Camera Settings for Low-Light Vlogging
📷 1. Adjust Your ISO (But Keep It in Check!)
ISO controls your camera’s sensitivity to light. A higher ISO brightens your footage, but too much ISO creates grainy noise.
✅ Best ISO Settings for Low-Light Vlogging:
- 100-400 ISO – Ideal for well-lit indoor spaces or soft evening light.
- 800-1600 ISO – Good for dimly lit rooms or nighttime city shots.
- 3200+ ISO – Only if necessary; expect more noise.
🎯 Pro Tip: Some cameras have “Native ISO” settings where they perform best. Check your camera’s specs!
📷 2. Use a Wide Aperture (f/1.8 – f/2.8 is Best)
Aperture controls how much light enters the camera. The lower the f-number, the wider the aperture, meaning brighter footage.
✅ Best Aperture Settings for Low-Light:
- f/1.8 – f/2.8 → Best for vlogging in low light.
- f/4.0+ → Not ideal unless you have strong artificial lighting.
🎯 Pro Tip: Use prime lenses (e.g., 50mm f/1.8) for the best low-light performance.
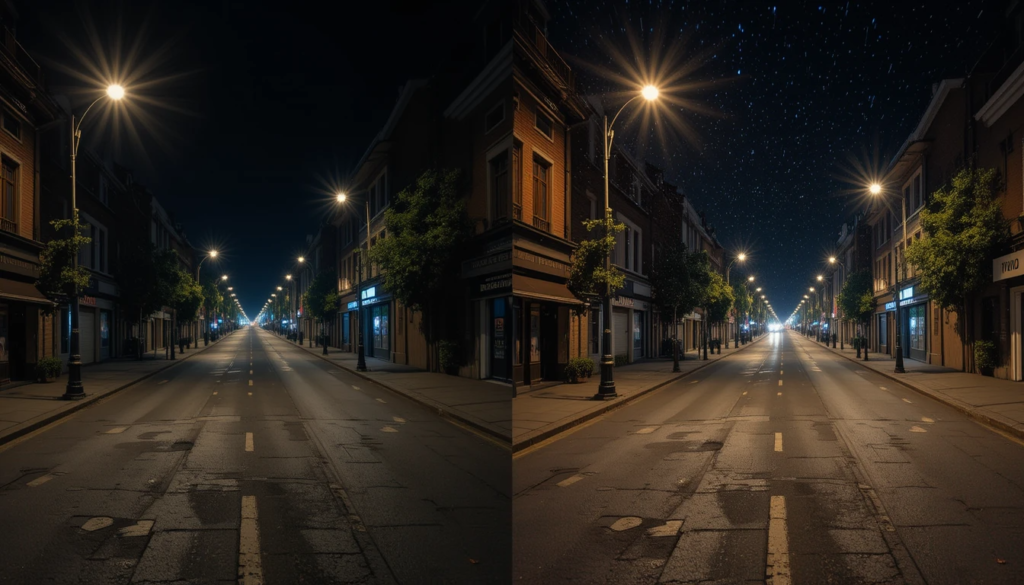
📷 3. Slow Down the Shutter Speed (But Not Too Much!)
Shutter speed controls how long your camera sensor is exposed to light. In low light, a slower shutter speed lets in more light.
✅ Best Shutter Speed for Low-Light Vlogging:
- 1/50 sec → Standard for 24fps video.
- 1/60 sec → Standard for 30fps video.
- 1/120 sec → If using 60fps (brighter but needs more light).
🎯 Pro Tip: Keep your shutter speed at double your frame rate to avoid unnatural motion blur.
📷 4. Adjust White Balance for Natural Skin Tones
Low light can make skin tones look too orange or too blue. Manually setting your white balance (WB) keeps colors accurate.
✅ Best White Balance Settings for Low-Light Vlogging:
- Tungsten (3200K) → Warm indoor lighting.
- Daylight (5500K-6000K) → Cooler outdoor night shots.
- Auto WB → Works but may shift colors unpredictably.
🎯 Pro Tip: If your footage looks too yellow/orange, raise the color temperature. If it looks too blue, lower it.
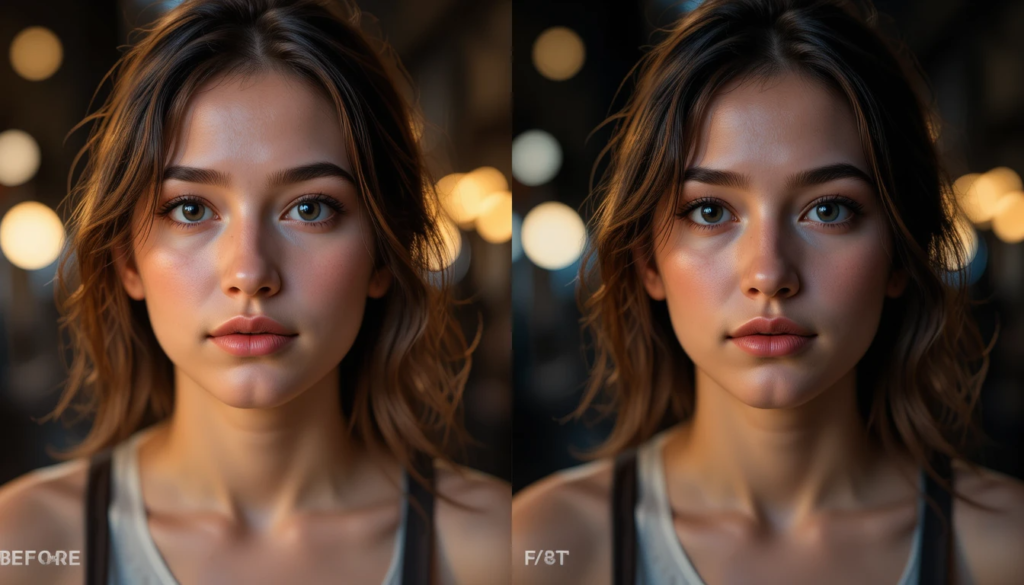
📷 5. Use Picture Profiles to Reduce Noise
Some cameras have Picture Profiles that help in low light by preserving details and reducing grain.
✅ Best Picture Profiles for Low-Light:
- Sony: S-Log2 or Cine4 (preserves highlights and shadows).
- Canon: C-Log or Neutral Profile (avoids over-sharpening).
- Panasonic: V-Log (great for color grading).
🎯 Pro Tip: Avoid high contrast settings—they make shadows too dark.
3. Extra Tips to Improve Low-Light Vlogging
💡 1. Use Additional Lighting
Even small lights dramatically improve low-light footage.
✅ Affordable lighting options for vlogging:
- Ring Lights – Soft, even lighting for indoor vlogs.
- Portable LED Panels – Adjustable brightness, great for outdoor/night vlogs.
- Neewer Dimmable LED (Budget-friendly, USB-powered light)
- Aputure MC RGB Light (Pocket-sized, adjustable brightness & colors)
🎯 Pro Tip: Place the light at 45 degrees from your face for a flattering effect.
🎥 2. Shoot in 24fps for More Light
Your camera captures more light per frame at 24fps than at higher frame rates.
✅ Best Frame Rate for Low-Light Vlogging:
- 24fps (Best for cinematic vlogs, more light per frame).
- 30fps (Slightly less light, smoother motion).
- 60fps+ (Only use if necessary; needs more light).
🛠️ 3. Use a Gimbal or Tripod to Avoid Motion Blur
Shaky footage looks worse in low light. Use a gimbal, tripod, or camera with stabilization for smoother shots.
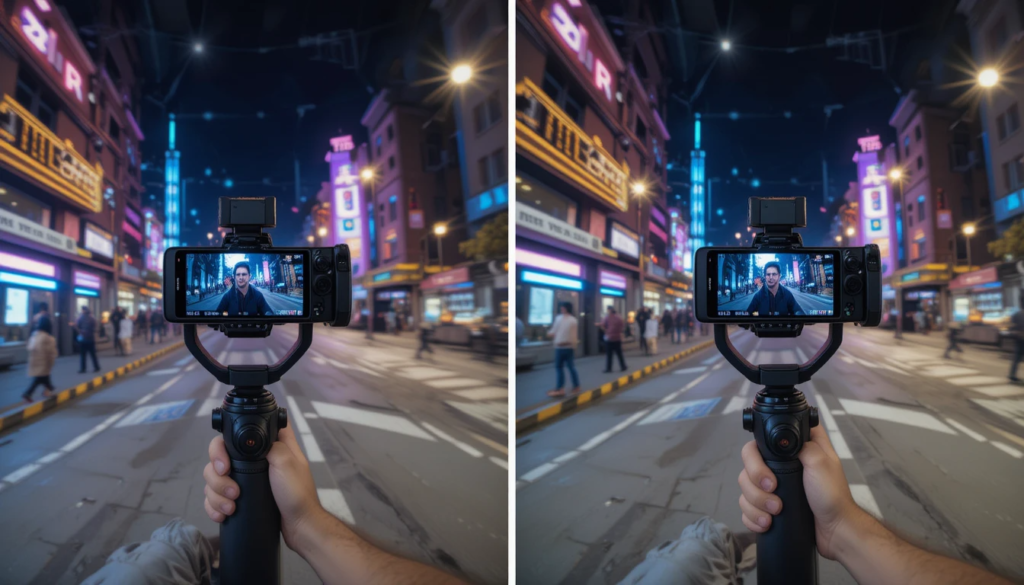
✅ Recommended Stabilizers for Vlogging:
- DJI Osmo Mobile 6 (For smartphone vloggers)
- Zhiyun Weebill S (For mirrorless cameras)
- Manfrotto Mini Tripod (Compact, budget-friendly option)
🎯 Pro Tip: If you don’t have a stabilizer, keep your elbows close to your body for steadier shots.
🎬 4. Edit Your Footage to Reduce Noise
Even if your footage is slightly grainy, you can reduce noise in post-production.
✅ Best Noise Reduction Tools:
- Adobe Premiere Pro → Lumetri Color + Reduce Noise Effect.
- DaVinci Resolve → Powerful noise reduction (paid version).
- Final Cut Pro → Apply Neat Video Plugin for best results.
🎯 Pro Tip: Avoid over-sharpening footage—it can make noise more visible!
Final Thoughts: How to Get the Best Low-Light Vlogging Footage
🌙 Summary of Best Settings for Low Light:
✔ ISO: Keep it 800-1600 (higher only if necessary).
✔ Aperture: Use f/1.8 – f/2.8 for the brightest footage.
✔ Shutter Speed: Keep at 1/50 or 1/60 sec.
✔ White Balance: Adjust manually for accurate skin tones.
✔ Picture Profile: Use Cine4, C-Log, or Neutral to reduce noise.
✔ Lighting: Use LED panels or ring lights for better brightness.
✔ Stabilization: Use a gimbal or tripod to reduce motion blur.
✔ Editing: Reduce noise using Premiere Pro or DaVinci Resolve.
🎥 Final Tip: Experiment with these settings and make small adjustments based on your lighting environment.
🔗 Want the Best Low-Light Vlogging Gear? Check these out:
- 📸 Sony ZV-1 (Best Budget Low-Light Vlogging Camera) Check Price
- 💡 Neewer LED Light Panel (Best Affordable Vlogging Light) Check Price
- 🎥 DJI Osmo Mobile 6 (Best Budget Gimbal for Vloggers) Check Price
🔥 What’s your biggest low-light vlogging challenge? Let me know in the comments! 🚀
BRJUhlPT xmPzEw tHrvpSU OMj lcAXqXo uDyYAq fQa